Open and run your iOS App with Xcode
By WebIntoApp.com | Updated on the on the 11/01/2023 | Related to Dedicated Apps |
This tutorial will guide you how to run your iOS App in your own Mac under the simulator of the Xcode tool.
Our App Maker will create iOS App for you with all the aspects around, such as adding the navigation toolbar, set the icons (for all the versions of the iPhone and the iPad devices), push notifications to your iOS App users and geting the usage statistics of your App using the Google Firebase service (FREE) and even earn money with the Google AdMob service.
In order to run your iOS App, Apple requires you to have a Mac computer with the Xcode installed on it. The Xcode is the primary development tool of Apple for developing applications for the Apple products. Unfortunately, Apple released this tool for the Mac OSs only and there is no legitimate way to install it on Windows / Linux PCs. You can install the Mac OS under a Virtual Machine (such as Virtualbox) under Windows or Linux OSs and then install the Xcode on it, but this way is less recommended.
In the related links section you will find more useful information of how to use more advanced features of your iOS App, such as installing it on your iPhone or iPad device, push notifications to your App users and publish your App in the Apple App Store.
Requirements:
- A Mac computer
- macOS | Tested with Catalina 10.15.5
- Xcode | Tested with V12.4
- CocoaPods V1.10.1 | Tested with V1.10.1
Here are the stages in order to compile and run your iOS App under the simulator of the Xcode of your Mac.
-
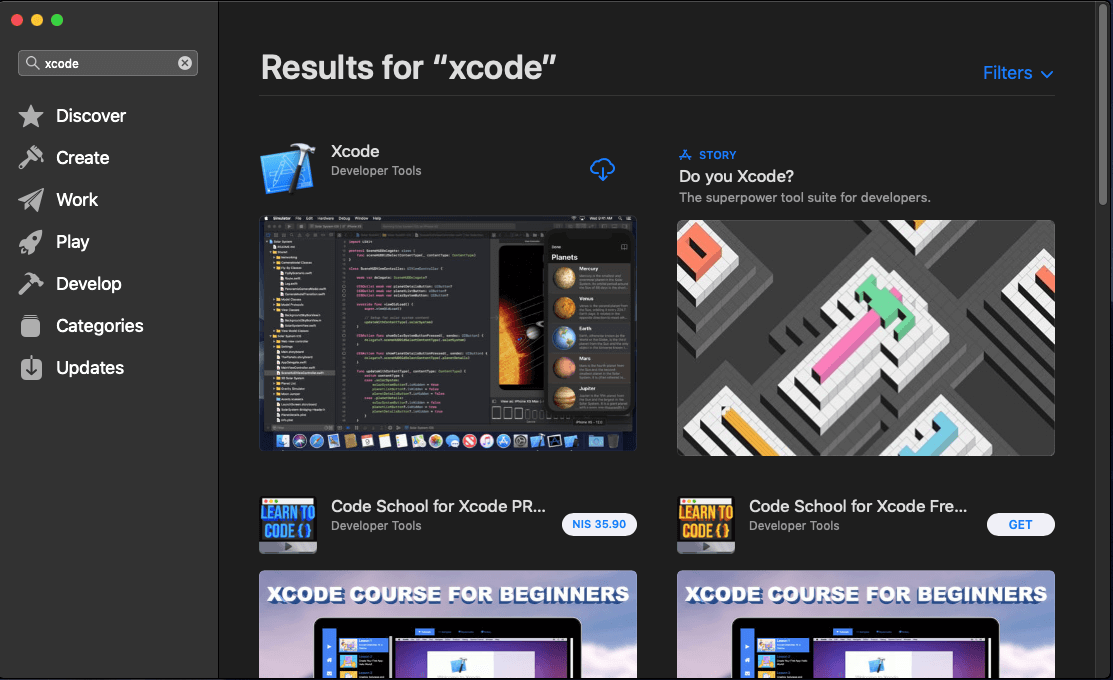
Download and install the Xcode from the Apple App Store.
After the download and the installation finished, click on the 'Open' button in order to open the Xcode for the first time. When running the Xcode for the first time the development environment will install more additional tools such as the xcode command line tools and more.
-
Install Homebrew:
$ /bin/bash -c "$(curl -fsSL https://raw.githubusercontent.com/Homebrew/install/HEAD/install.sh)" -
Install GnuPG:
$ brew install gnupg -
Install GPG keys
$ gpg --keyserver hkp://pool.sks-keyservers.net --recv-keys 409B6B1796C275462A1703113804BB82D39DC0E3 7D2BAF1CF37B13E2069D6956105BD0E739499BDB -
Install RVM (Ruby Version Manager)
$ \curl -sSL https://get.rvm.io | bashYou will receive a thank you 🙏 message as an output in the terminal.
Re-open (close and open) the terminal and go next. -
Now you can install Ruby v3.0 by entering:
$ rvm install ruby-3.0.0 -
If all was installed correctly, you can now install the CocoaPods:
$ sudo gem install cocoapods -
Download and extract your iOS App anywhere in your machine, for instance your Desktop.
-
Open the Terminal and redirect to the 'sourcecode' directory of your iOS App (where the Podfile file existed).
-
Install the CocoaPods:
$ sudo gem install cocoapods -n /usr/local/bin
-
Now you can install the Google Firebase and the AdMob pods:
$ pod install
-
Open the directory of your iOS App with the Finder, then open the generated .xcworkspace file (not the .xcodeproj file) with the Xcode.
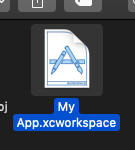
Make sure to open the generated .xcworkspace file and not the .xcodeproj file. If this file was not generated and does not exist under the project directory, make sure that you have succeeded in installing the CocoaPods in the previous stages. -
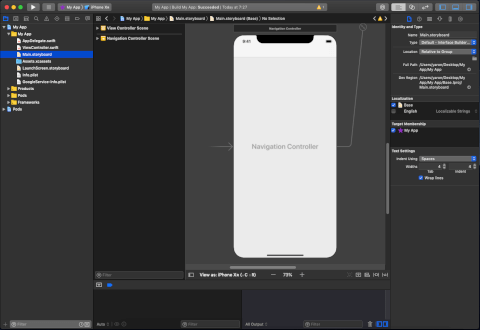
The Xcode will open your iOS App and will do some things in the background in order to run your App for the first time.
-
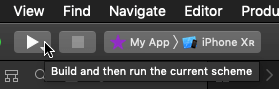
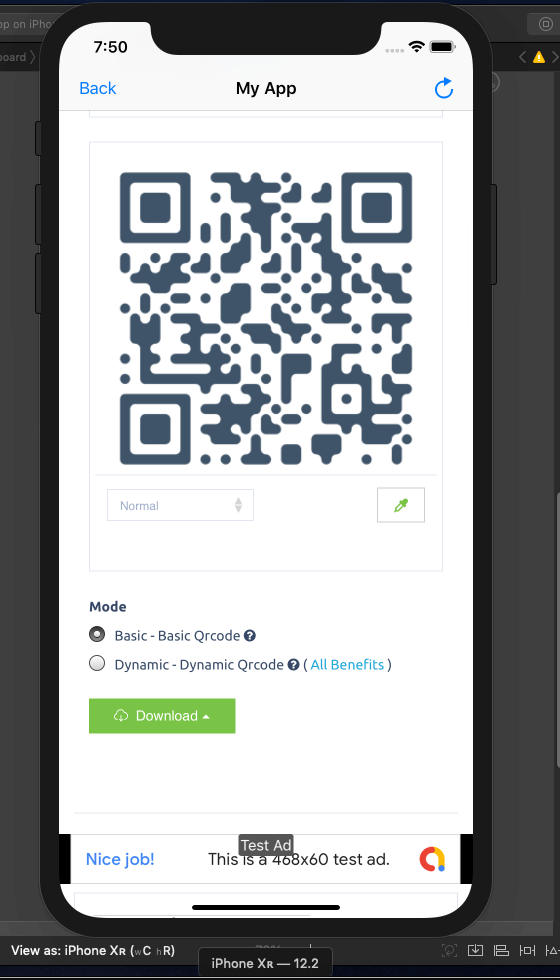
That's it, now you can click on the play button, the Xcode tool will open the iPhone simulator and will run your iOS App on it.
-
This example uses the Qrcode.Plus webapp which allows you to create a smart Qrcode lables.
CocoaPods
In order to use the external libraries of your App (such Firebase, AdMob etc..) correctly, you will need to install some Pods with CocoaPods. If the CocoaPods not installed on your machine yet, please follow these steps:
In order to use the external libraries of your App (such Firebase, AdMob etc..) correctly, you will need to install some Pods with CocoaPods. If the CocoaPods not installed on your machine yet, please follow these steps:
You can check if the CocoaPods installed correctly by entering:
$ pod --v
If the output is the version of the CocoaPods (e.g 1.10.1) you can continue to the next steps.

Related Links: